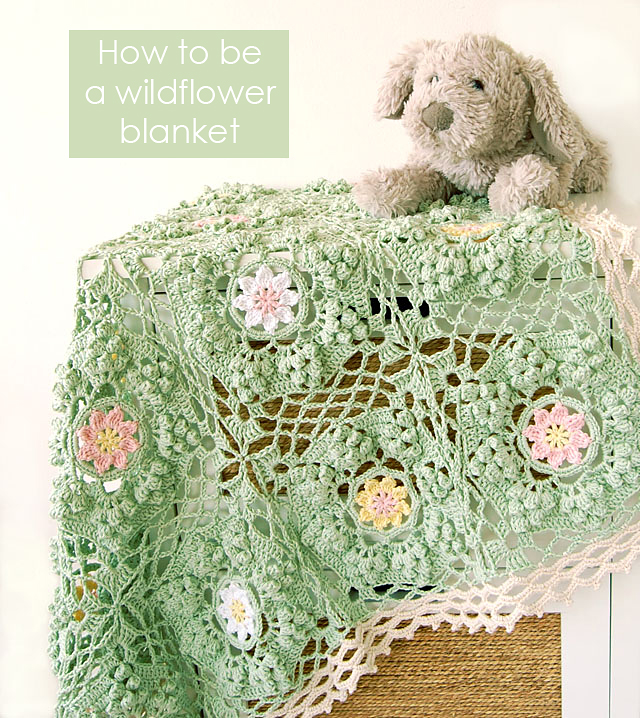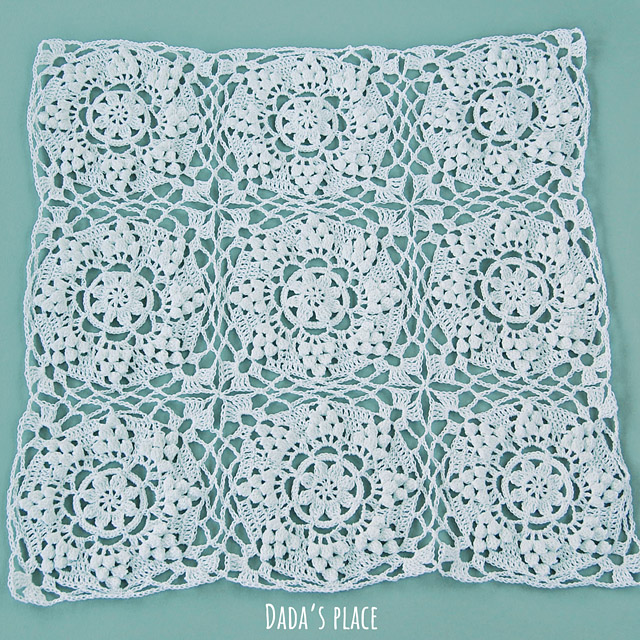
As I promised in my last blog post, today I’ll show you how to join the squares together. If you missed the first part of the tutorial (how to make the square) click here to check it out.
*
I will use only 4 squares to demonstrate the join-as-you go method. Also the colors I use differ from the actual blanket. Don’t let that confuse you.

1. After you finish the first complete square, start doing the second, but complete only the first nine rounds. Work through the tenth round, as explained earlier,
2. and stop once you’ve worked the fourth tr of the first corner, then make ch-2;

3. Take your first finished square and lean it against the second square. We will start joining the squares at corners.

4. Insert the hook into ch-4 space of the upper right corner of the first square, grab the yarn with your hook,
5. pull the yarn through ch-4 space and through the loop on your hook. We’ve just made our first join, using slip stitch.
6. Make ch-2, 4 tr in ch-4 space of the second square;

7. make ch-2, sl st in the next ch-4 space of the first square, ch-2, sc in the next ch-6 space of the second square;
8. * ch-3, sl st in the next ch-6 space of the first square, ch-3, sc in the next ch-6 space of the second square;
9. Repeat from * two more times;

10. ch-2, sl st in the next ch-4 of the first square, ch-2, 4 tr in the next ch-4 space of the second square;
11. Now, we’re going to join our second corner, so make ch-2, sl st in the next ch-4 space of the first square, ch-2, 4 tr in the same ch-4 space of the second square where we’ve just made 4 tr;

12. Continue the last round of the second square as you normally would. When you finish joining your first 2 squares, they should look like this. Now we’re going to join our third square. Join the third square in the same way we joined our first 2 squares together earlier,

13. and stop once you’ve made the fourth tr and ch-2 of the second corner.
14. Insert your hook in slip stitch with which we joined our first and second squares together,
15. grab the yarn and pull it through slip stitch and through the loop on your hook, then make ch-2;

16. Continue the last round of the third square as you normally would.
17. This is how the join of the three squares should look like.
18. Take the fourth square and repeat all the steps we made with the third square. Again, when you reach the second corner (4 tr and ch-2) stop to see where you should make a join.

19. The arrow in the picture indicates where you should make a join.
20. Insert your hook into the stitch, yo and pull the yarn through the stitch and through the loop on the hook.
21. Continue the last round of the fourth square as you normally would. See how the join of our four squares looks nice and neat.

Now, when you learned how to join the squares together, you can continue to join the rest of your squares in the same way.
*
In the third part of the tutorial I will show you how to make the border.

*
You can check out the first part of the tutorial here.
*
Update: The third part of the tutorial – How to make the border is now available HERE.
You are incredible. Beautiful!
Thank you! I’m glad you like it!