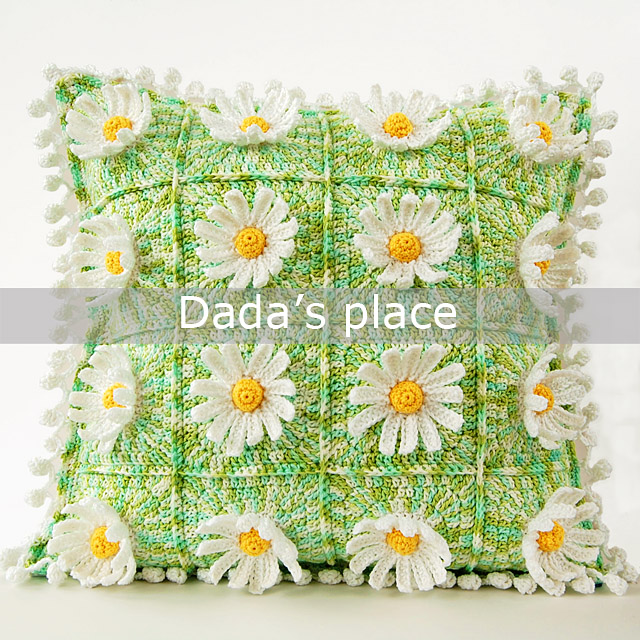
Here I am holding my Classic Granny Square Blanket. But, just a few months ago I couldn’t imagine that I would ever crochet anything using Classic Granny Squares. I thought they are ordinary, plain and boring. But. I was so wrong!
In my opinion, Classic Granny Square is the king of granny squares! Or, queen. Yes. That’s sounds better! The queen of granny squares! Because: They’re so easy to make (that’s a big plus for me). They’re beautiful. Simple. Uncomplicated.
And with simple, uncomplicated things you can do so much. You can make them in any size. You can make them small. You can make them big, even gigantic. And anything in between. You can make them in one color, two colors, three, four, five colors… ten colors…. The possibilities are endless, and that’s I like the most. The possibilities.
They’re like legos! You can build (crochet) anything with them. You can make them in so many different ways, and adapt to so many projects. Honestly, there is nothing that you can’t crochet using Classic Granny Squares. Now, I love them, honor them and write with a capital letter, just as they deserve.
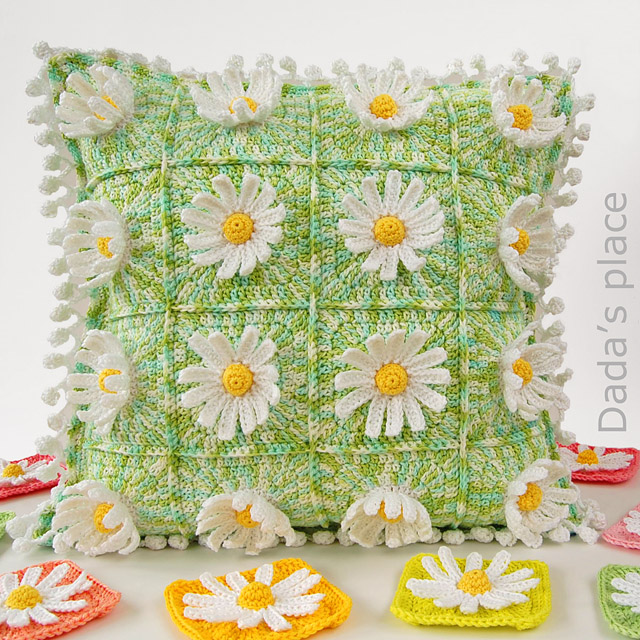
Now, let’s say a word about this blanket. I made 36 squares (each square has 7 rounds) and joined them together with single crochet. The blanket measures approximately 80 x 80 cm (31.5” x 31.5”), and weights 550g. I used 100% cotton yarn “Tango” from St. George 125m/50g, and 3.5 mm crochet hook. The border is very simple, almost nonexistent, because I wanted to emphasize the beauty of the Classic Granny Squares, and didn’t want the edge to draw attention from them.
What about you? Do you love Classic Granny Squares? Have you noticed their beauty yet? If you haven’t maybe it’s time to give them a chance and try them out. There is a big chance that you will fall in love with them. Just like I did.