I wrote my last blog post more than four years ago. I don’t really know why I stopped blogging. I probably thought that no one reads blog posts anymore, and with all those things I had to do to keep my business alive I didn’t think that writing a blog post is very beneficial. I didn’t want to waste my precious time, and to be honest writing is not what I like doing. I prefer crocheting and designing. Work with yarn. So, I just stopped.
But now, when I see that so many of my work is not presented here, I feel the urge to do something about it. So, I decided to write a short blog post about all the patterns I’ve published so far. I need to write 28 posts, so it’s the best to start immediately.
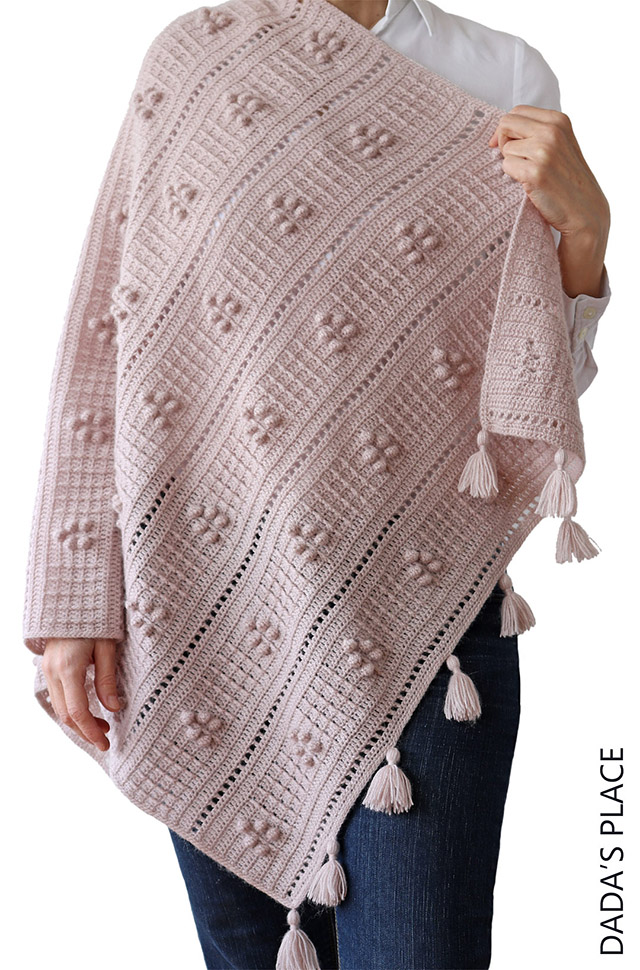
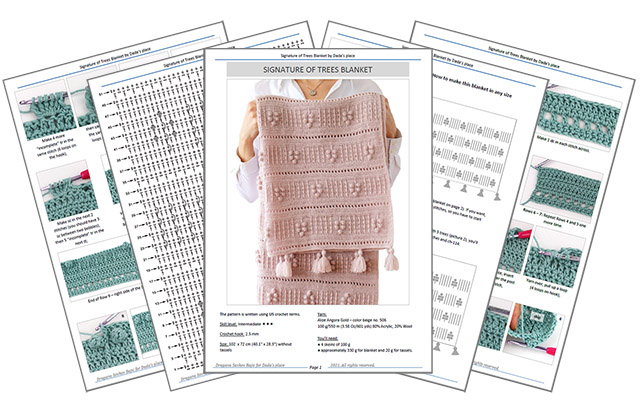
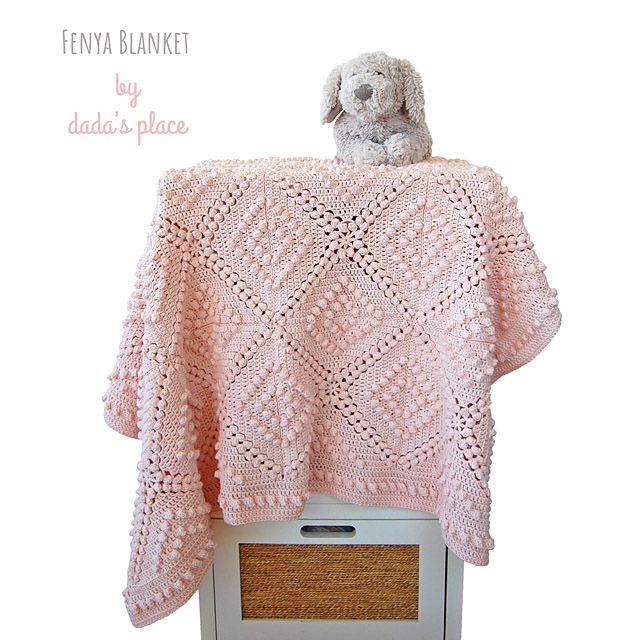
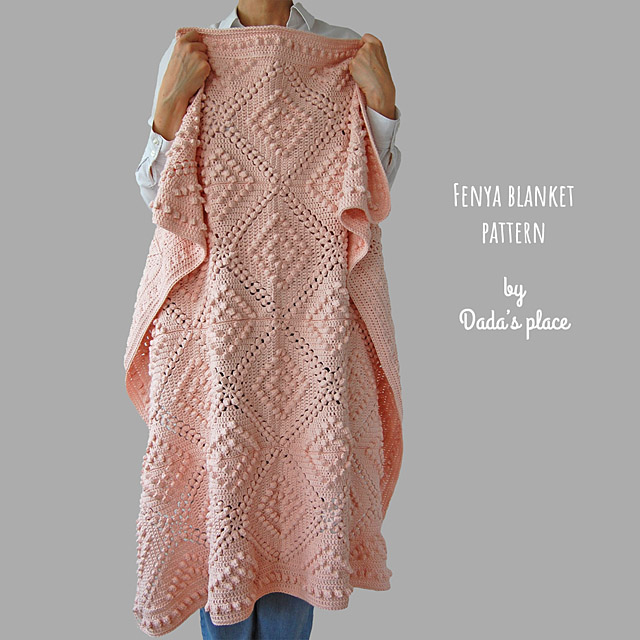
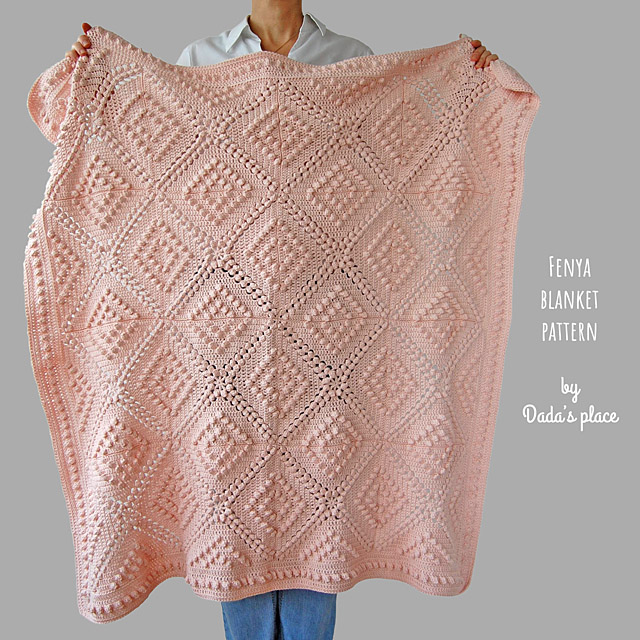
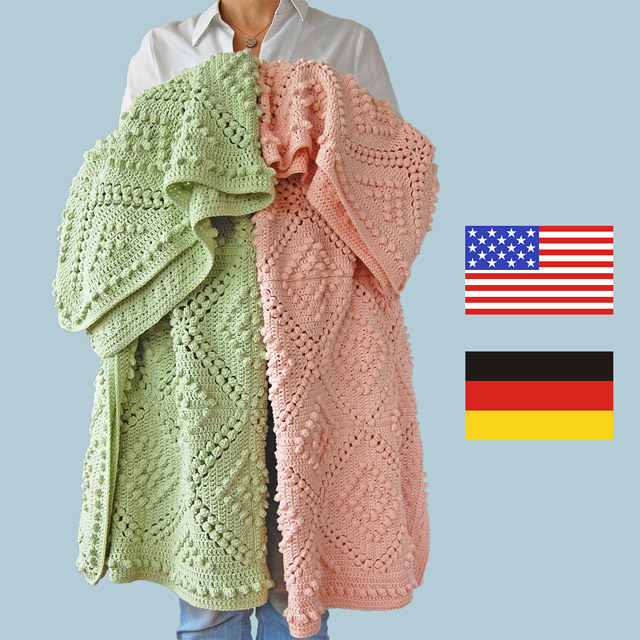
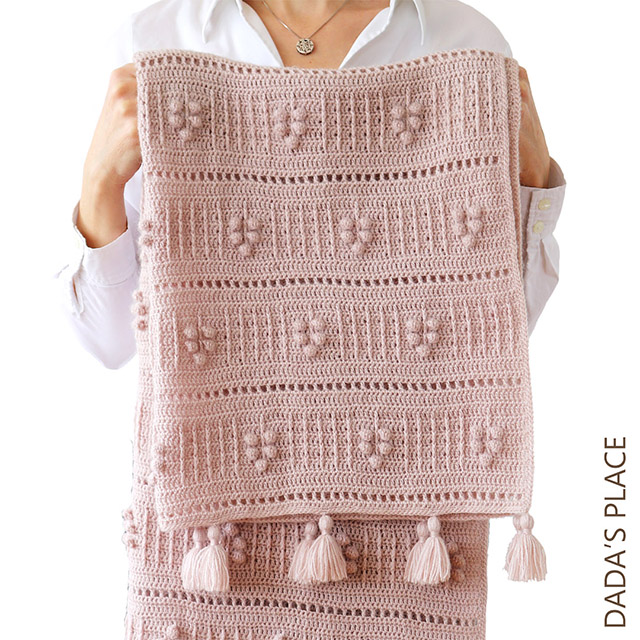
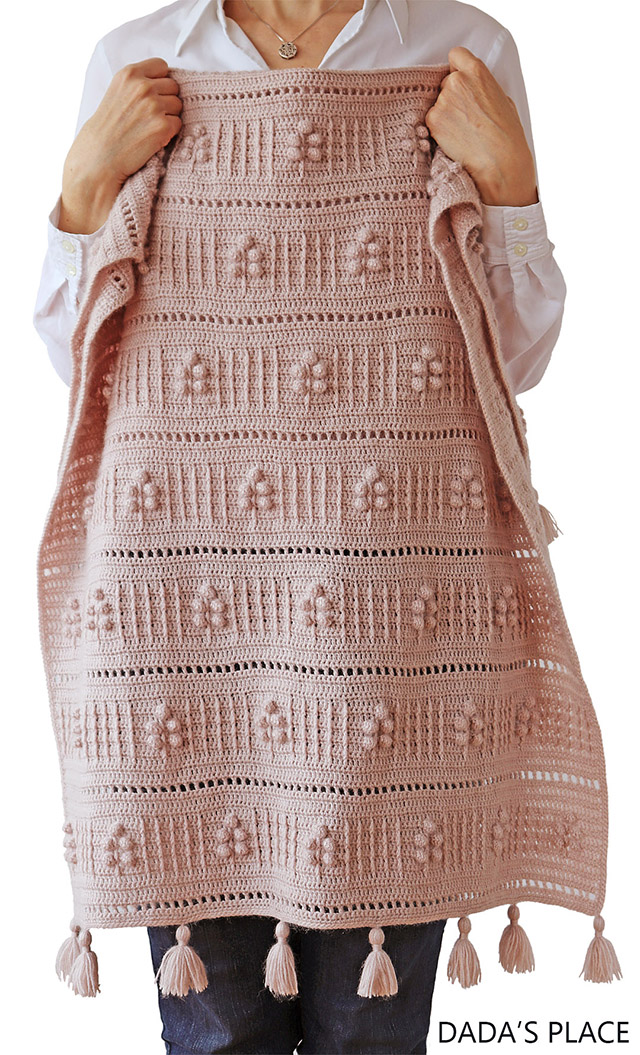
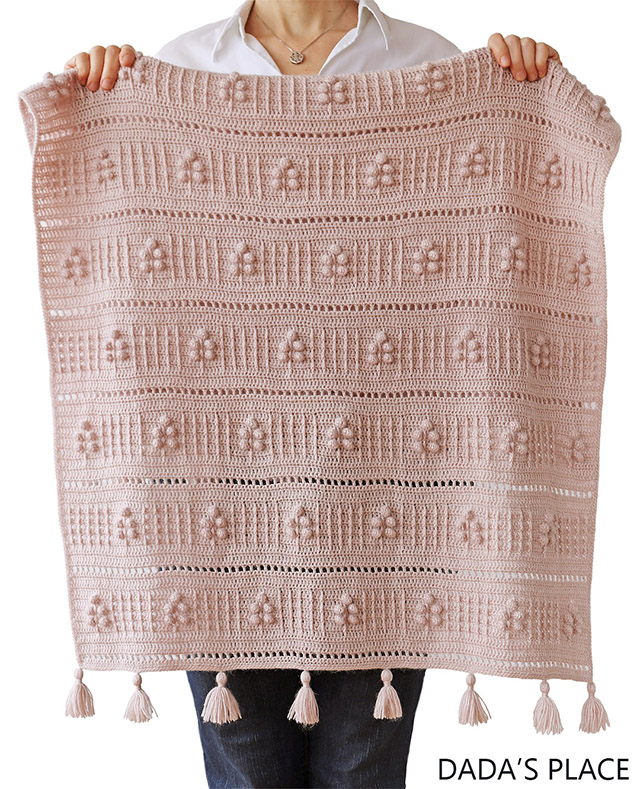
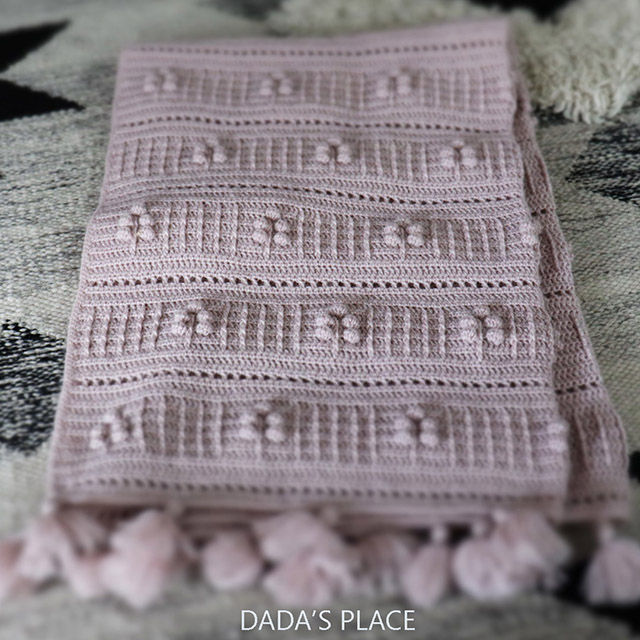
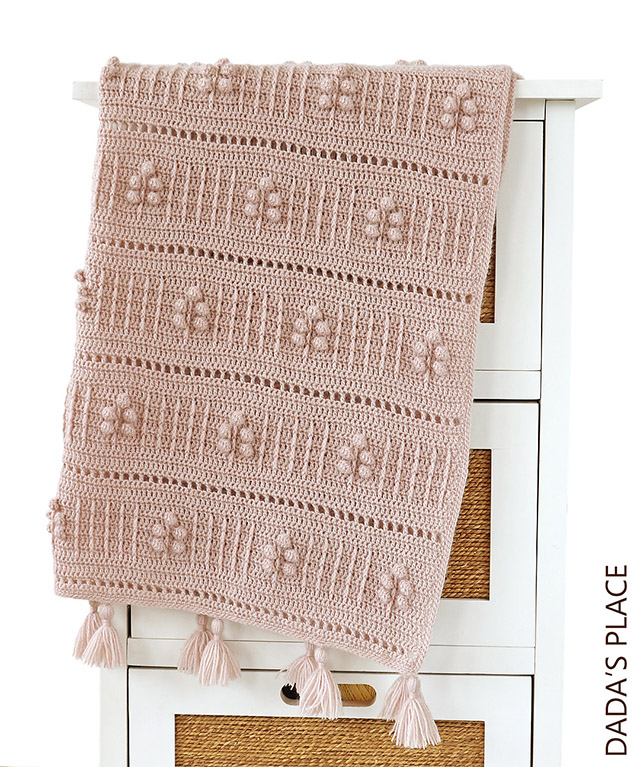
Signature of trees blanket is a beautiful and modern bobble stitch crochet blanket. It’s easy to make, especially if you’ve already mastered the basic crochet stitches. It can be made with any yarn. I used my trusty Alize angora gold yarn. If you can’t find that yarn or you’d like to substitute it with another yarn, I would recommend Drops alpaca or Drops Flora yarn. They’re similar weight and beautiful yarn. Plus, quite affordable.

The blanket is approximately 70 cm wide and 100 cm long, but it can be made in any size. Following the instruction giving in the pattern on how to make the pattern in any size it is easy to adjust the size of the blanket it to your own needs. You can make a small newborn baby blanket, or a queen bed spread, whatever you like.
The pattern is very detailed and it has:
– a written pattern,
– a stitch guide,
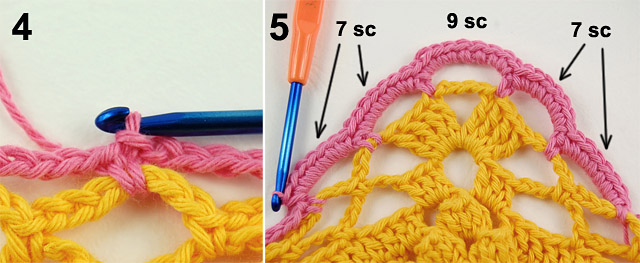
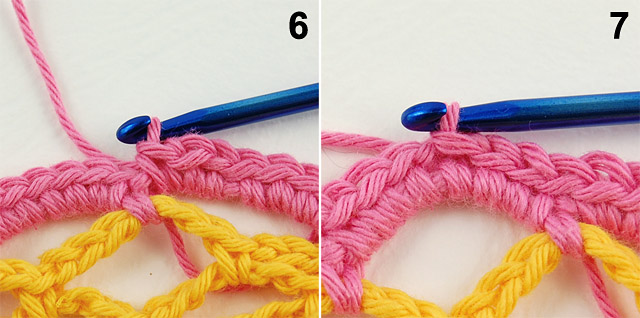
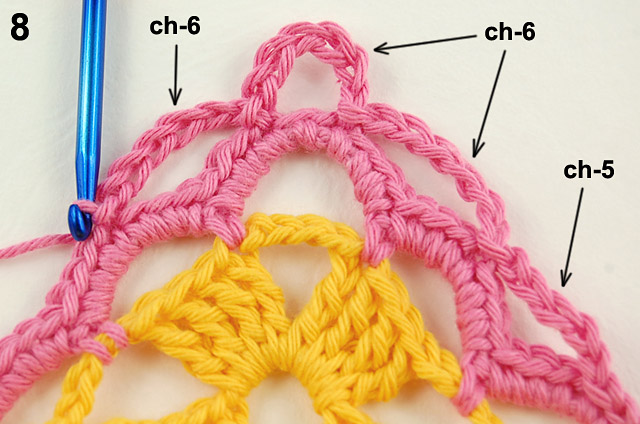
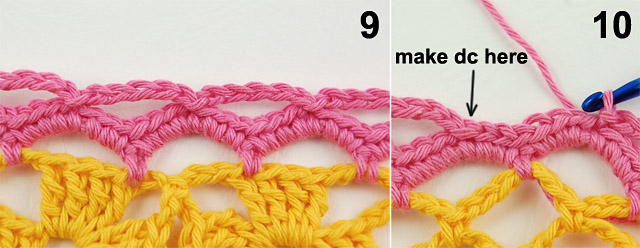
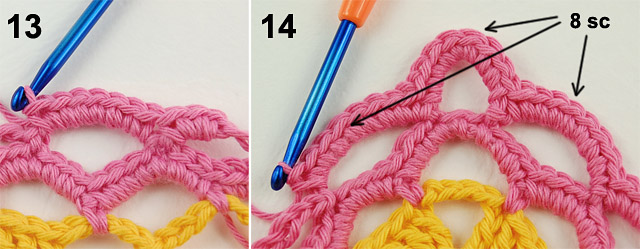
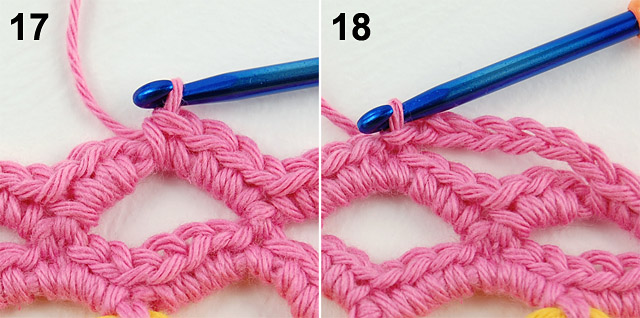
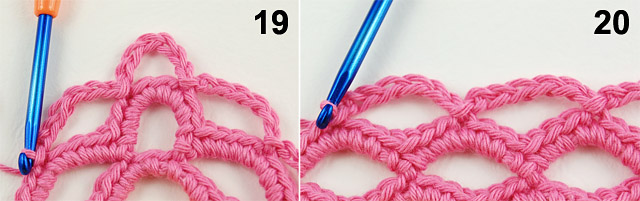
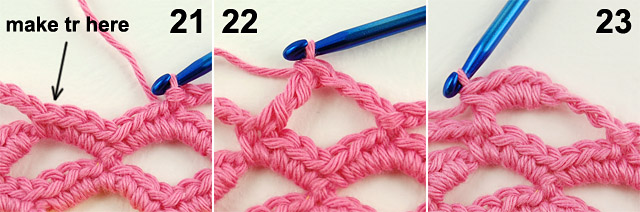
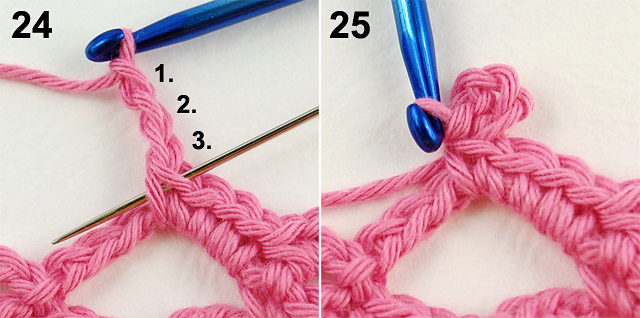
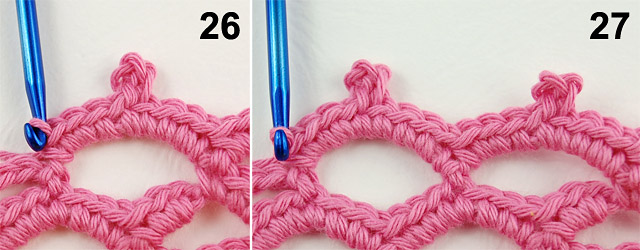
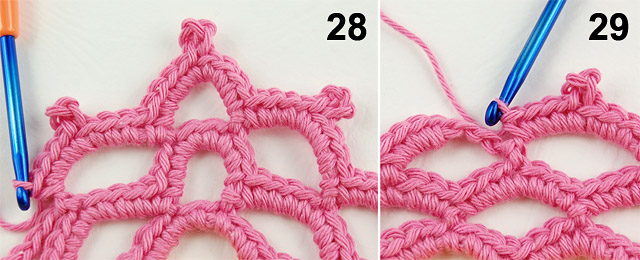
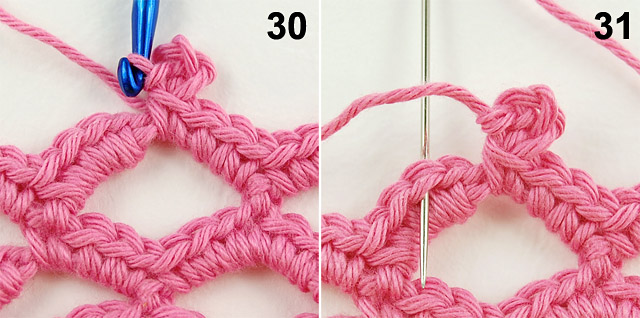
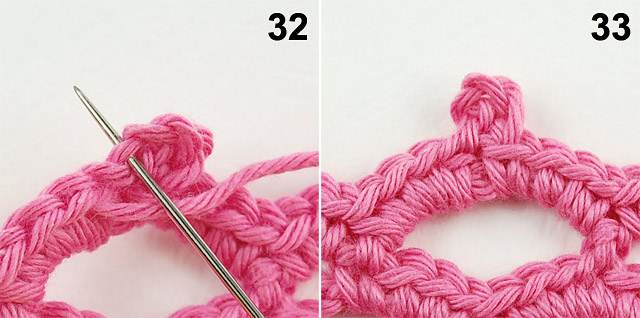
– a step-by-step picture tutorial of the first 14 rows,
– a step-by-step photo tutorial on how to make FPtr and bobble stitch,
– crochet charts,
– several schematics,
– a step-by-step photo tutorial on how to make tassels,
– information on material needed,
– and information on how to make the blanket in any size.
I’m eager to see your versions of the Signature of trees blanket! So, please, tag me and use the hash tag #SIGNATUREOFTREESBLANKET when you post the pictures of your blanket on social media. I will share the best pictures in my Instagram and Facebook stories.
Signature of trees blanket pattern is now available in all my shops. You can but it in Dada’s place shop, HERE.
You can also purchase it in my Ravelry shop, HERE, and my Etsy shop, HERE.