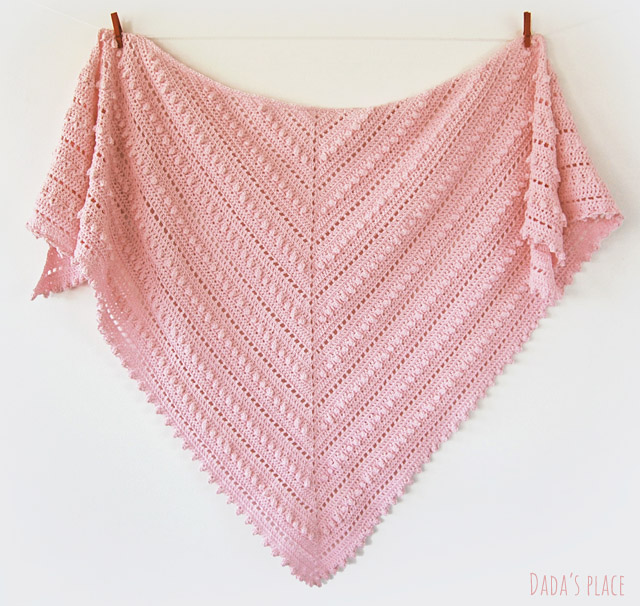
This shawl is one of those totally unexpected projects. Like, you work on something completely different, and then an idea in some way related to the thing you’re working on, pops up in your head, and you just have to try it out. You don’t want to let it go. That happened to me with this shawl. I was working on figuring out a border for a blanket, and when I finished it, I saw that if repeated, that border could be used in a simple triangle shawl. Needless to say, I immediately grabbed my crochet hook and some pale greenish yarn from my stash, and started to build this shawl. It went so smoothly that I really enjoyed the whole process.
There are some patterns which are very hard to give birth to, and there are patterns which are so easy and effortless. Kaya shawl is definitely the latter kind of the pattern. Maybe that’s the main reason I decided to name it Kaya shawl, after my paternal grandmother who I loved so much, so effortlessly. I probably spent my happiest childhood days in her house, playing with my sister, and our neighbors. She gave me that incredible feeling of protection and unconditional love, and I’m forever grateful to her for that.
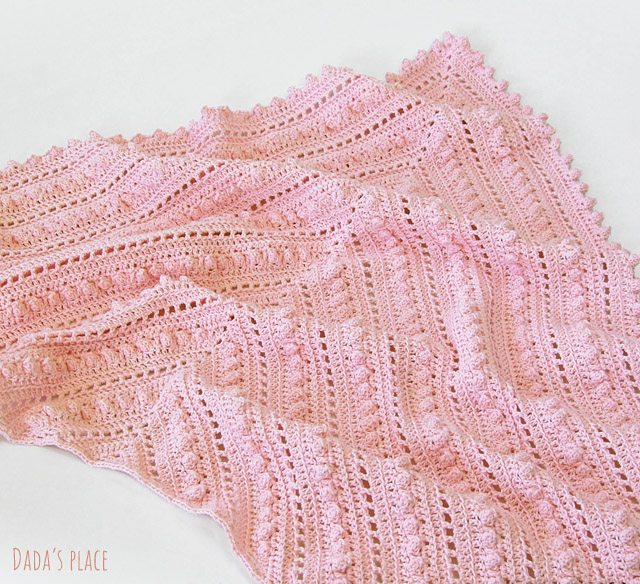
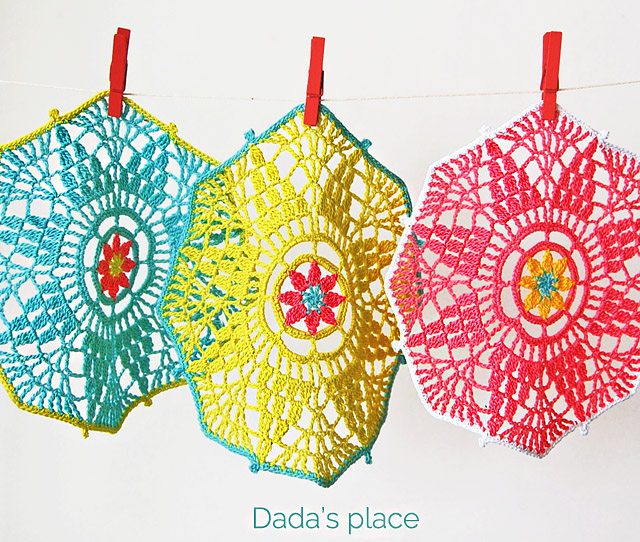
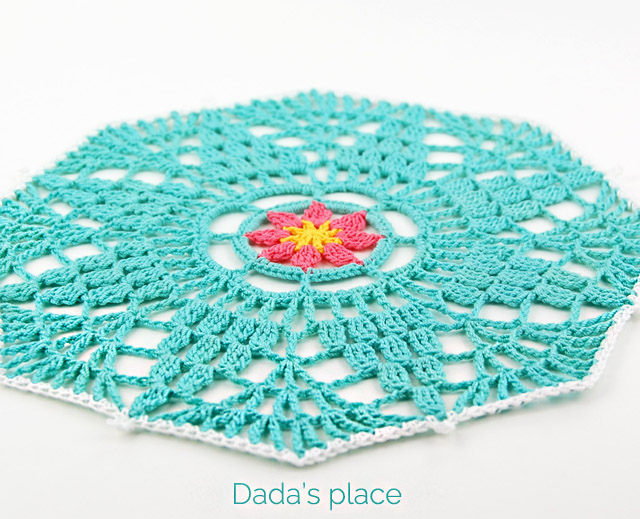
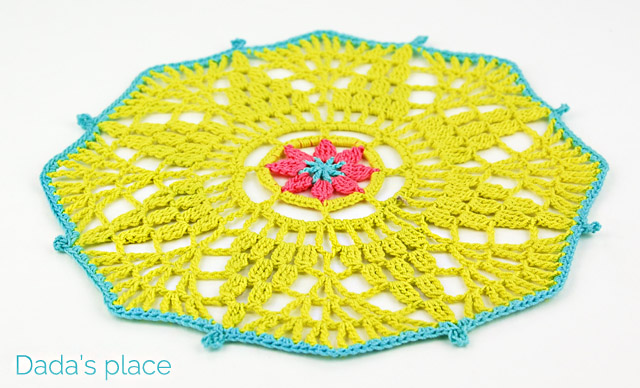
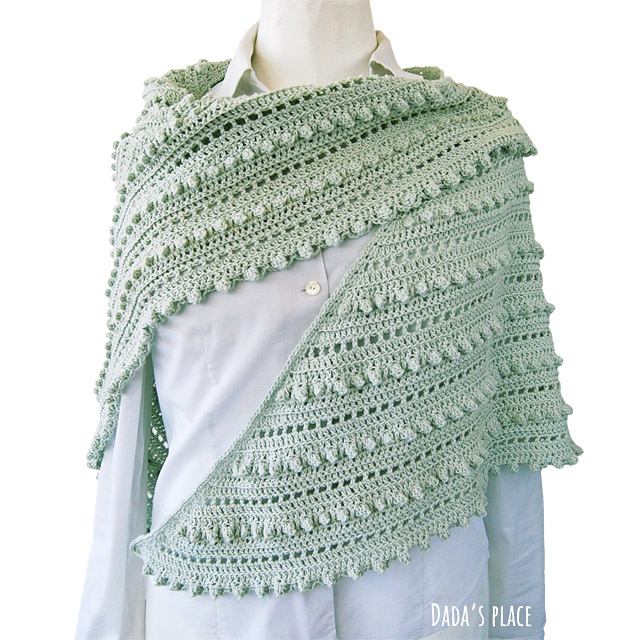
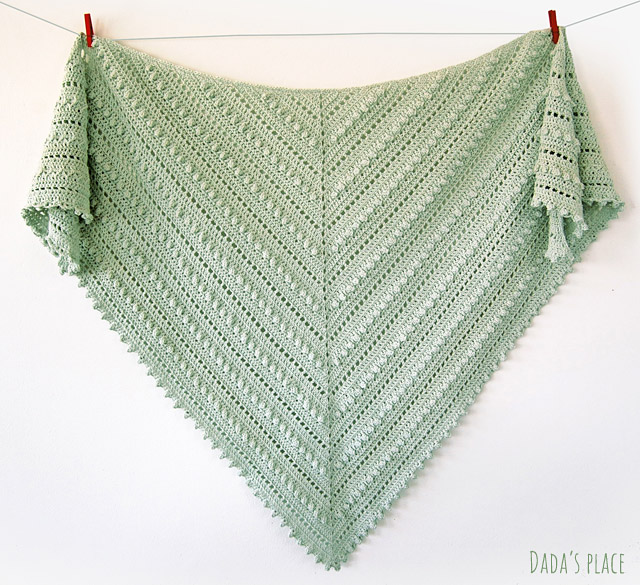
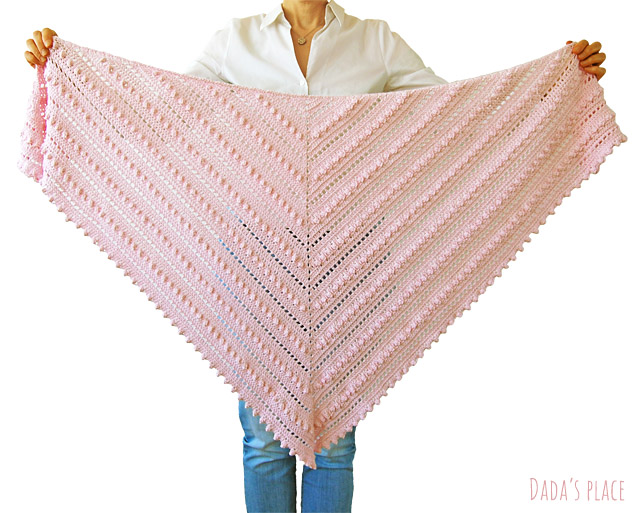
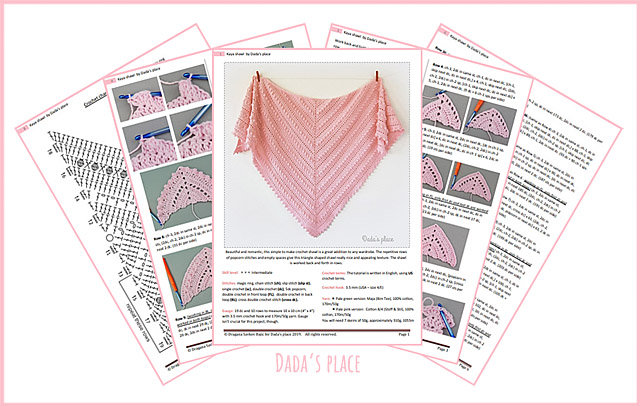
Let’s say a few words about the shawl. I love how simple it is, but interesting at the same time, which is a quality I appreciate very much. It has a beautiful texture created with popcorn stitches and empty spaces. It can be made with any yarn. I used 100% cotton yarn, 170m/50g. The pale blue-green version is made with Maja yarn by Bimtex, and the pink version is made with Cotton 8 by Stoff & stil. I used 3.5 mm crochet hook.
The finished shawl measures approximately 158 cm x 77 cm (62” x30”). I would say it’s an ideal project for an intermediate crocheter or even an ambitious beginner who wants to improve their crochet skills and learn new stitches.
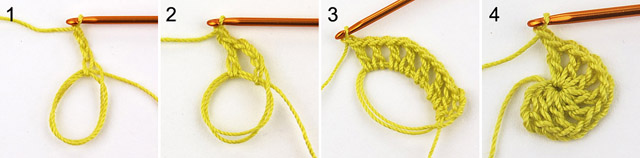
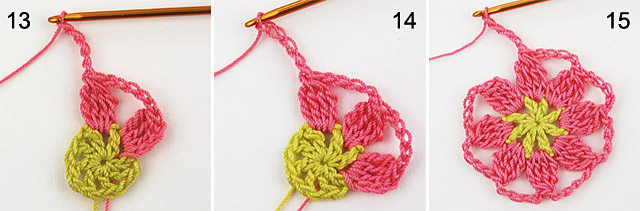
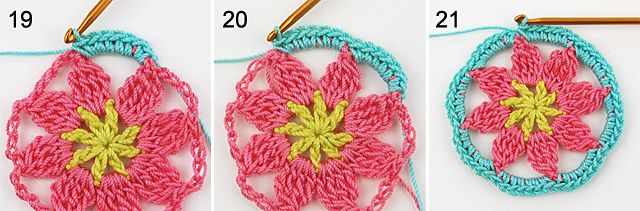
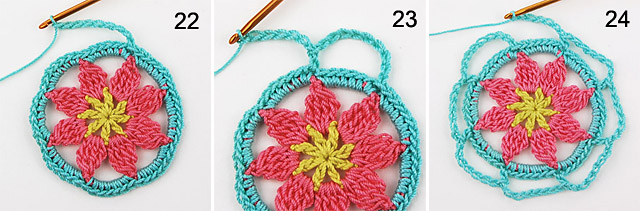
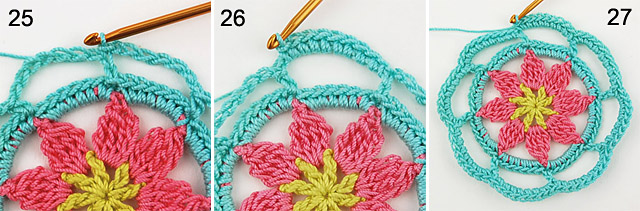
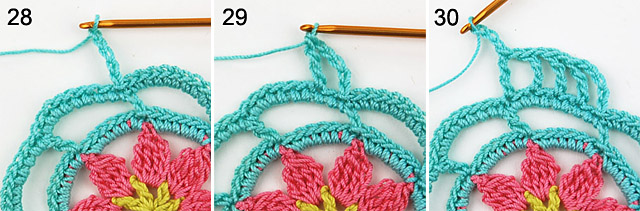
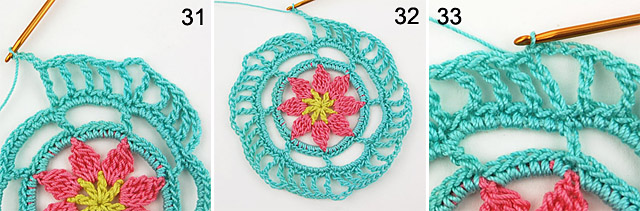
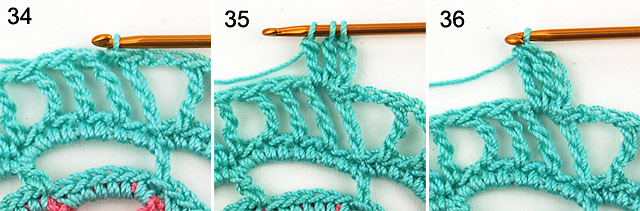
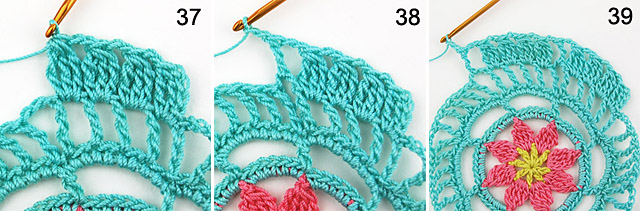
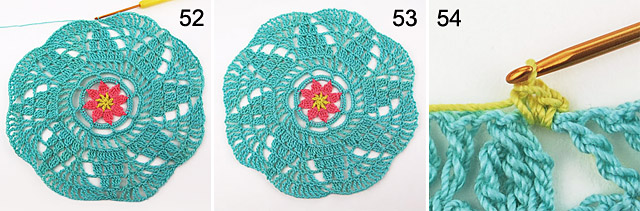
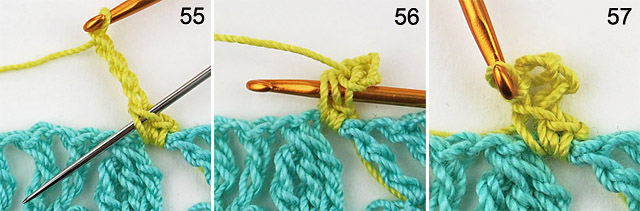
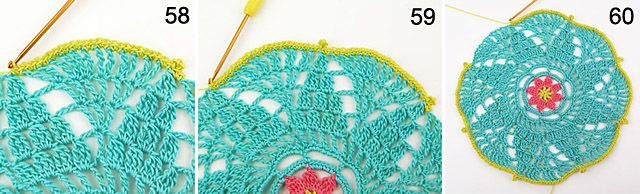
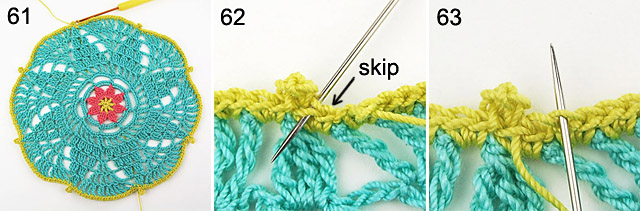
The pattern is written in English using US crochet terms. There are 20 step-by-step pictures, and 2 crochet charts for all of you who prefer charts. I personally love charts. When you take a look at it, you can instantly see what stitches are used, and know everything you’re supposed to do to accomplish the pattern. You have the picture of the whole pattern in front of you. I really like that.
The pattern is now available in Dada’s place shop, here (Payment options: credit cards and PayPal), in my Ravelry shop, and in my Etsy shop. (Payment option: PayPal)
If you make Kaya shawl, please share it on your favorite social media platform, using #kayashawl
I would really like to see what you will do with the pattern!
*