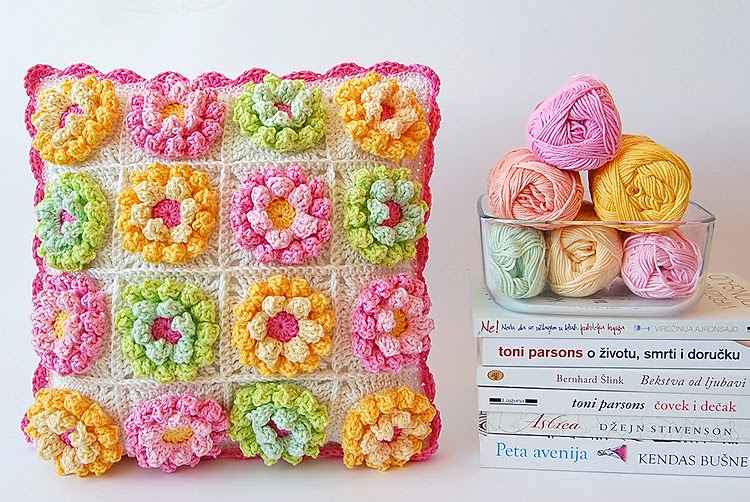
First of all, I want to thank you for your numerous comments on my previous post (about Teddy Bear Granny Square). I’m absolutely thrilled with your response! So, I promise to make a tutorial for Teddy Bear Granny Square. I’ll do my best to finish it until the end of the month. I just have to finish my blanket first.
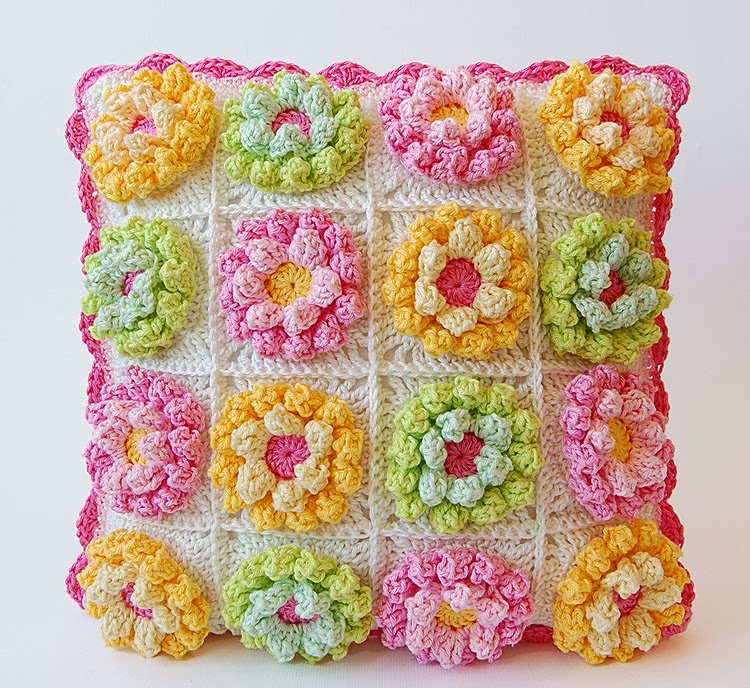
Do you remember my Blooming Garden Bag? I love those flowers! I couldn’t resist to make a pillow using the same Granny Square Pattern.
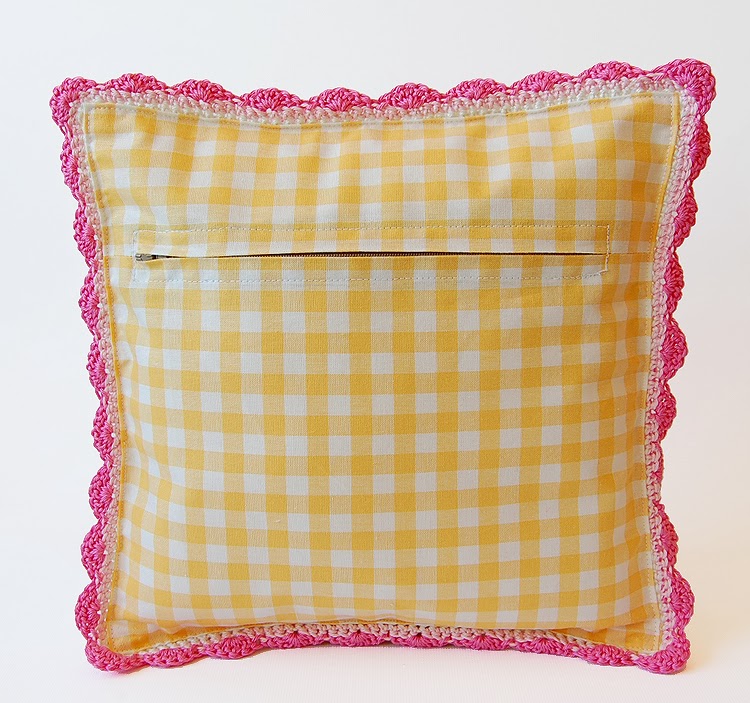
This is how the back side of the pillow looks like. I never crochet the other side of my pillows.
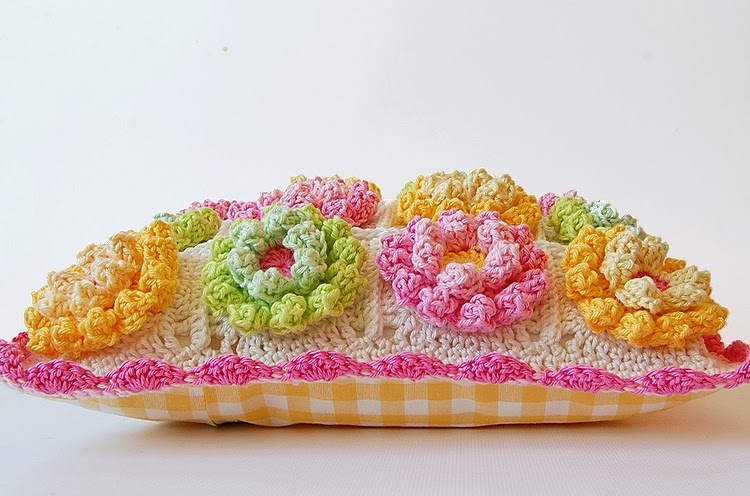
I really fell in love with these flowers. If you’d like to make them too, you can find the free tutorial here. Big thanks to Karen who made Lily Pad Hexagon tutorial and who has a new website.
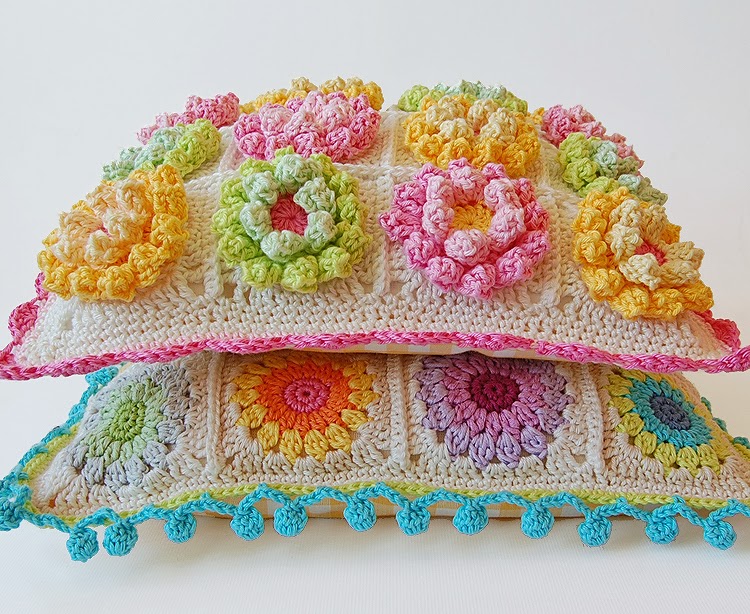
Pillows are definitely my favorite crochet subject.
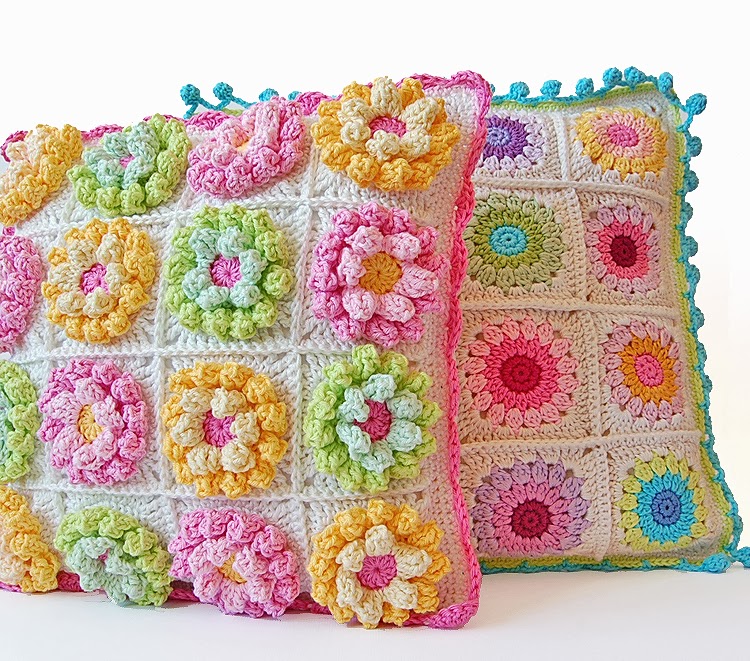
And they look cute on photographs. Especially if they are colorful and happy.
Teddy Bear Granny Square
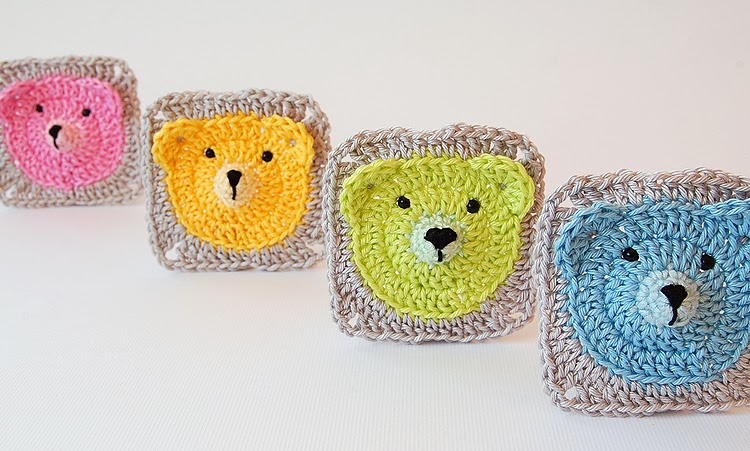
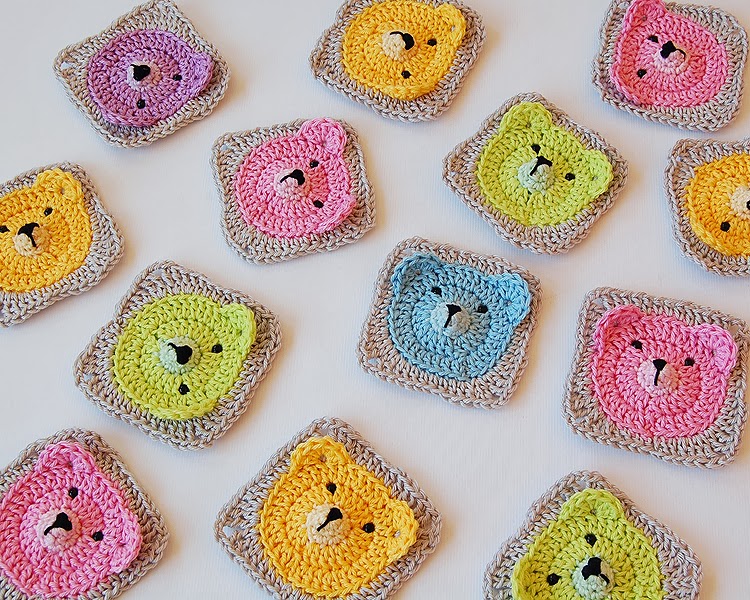
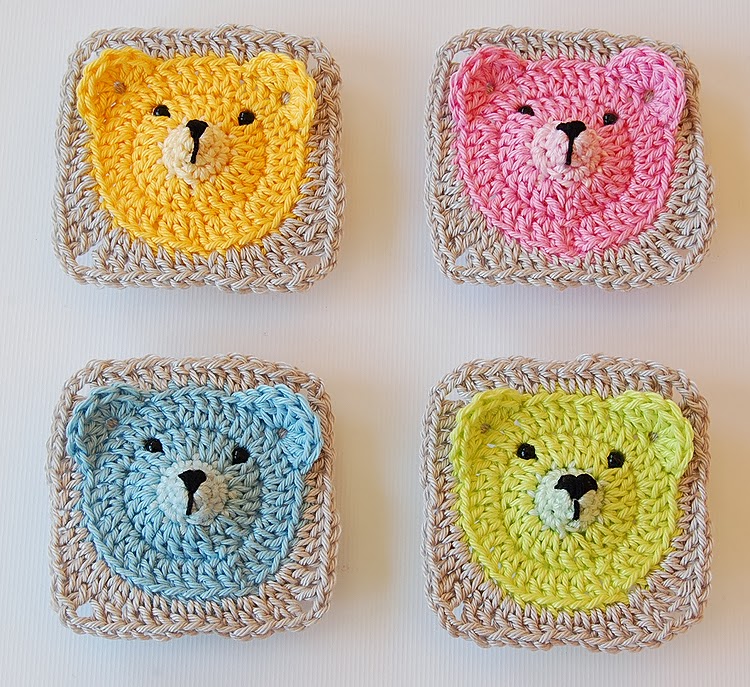
Update: The Teddy Bear Baby Blanket pattern is now available in Dada’s place shop (payment options: Credit cards & PayPal).
*
You can also get the pattern in my Ravelry shop and in my Etsy shop. (payment option: PayPal)
*
Blooming garden crochet bag
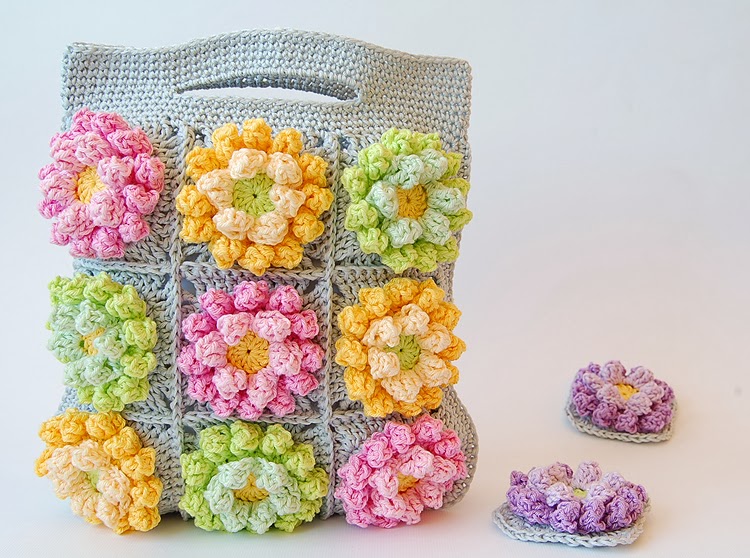
I’ve been thinking about colors. I’m not sure I know the answer to the question whether I am the one who chooses a particular color or colors pick out me. Sometime I can’t see the difference. It’s so easy and pleasing to play with colors. They’re my friends.
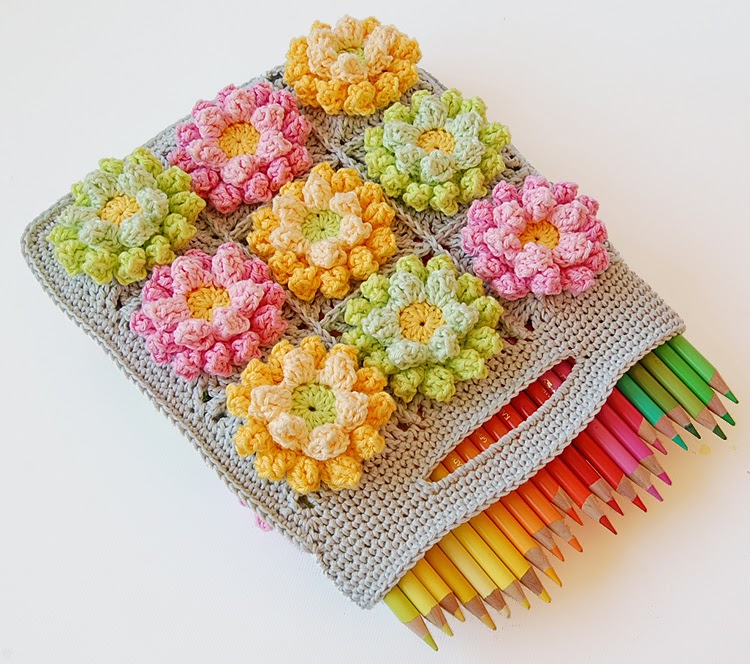
This little bag which I named “Blooming garden” I made using “Lily Pad” granny squares. In original pattern, which you can find here, on the Karen’s lovely Colour in a simple life blog, they are actually hexagons. I don’t particularly like hexagons, but I liked those extremely textured flowers very much, and wanted to use them for the bag. That’s the reason why I transformed them into squares.
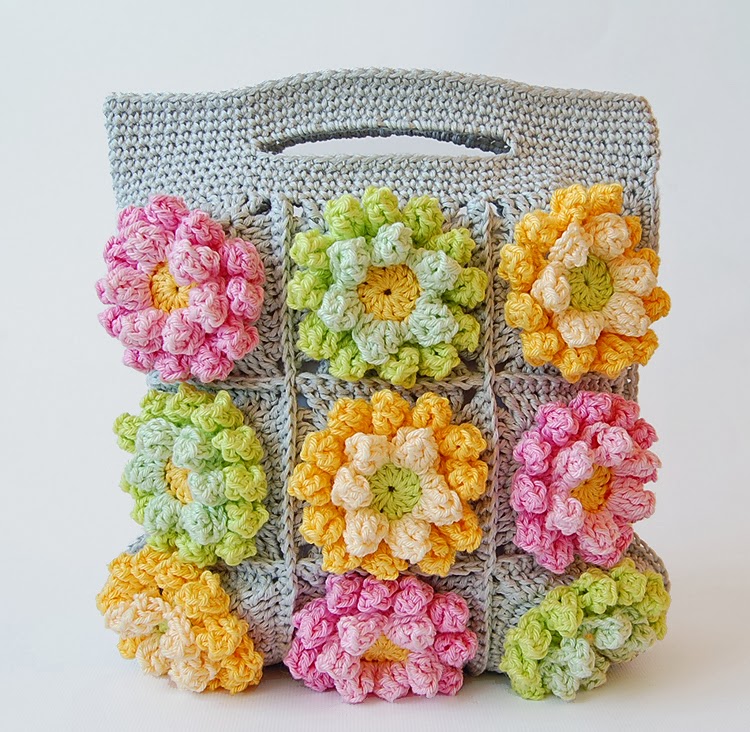
I followed the instructions until the last row, and then, instead of the last row I added the following: chain 3 (it’s actually dc), dc into the next stitch, hdc into the next stitch, single crochet into the next 2 stitches, hdc into the next stitch, dc into the next 2 stitches, tc + chain 2 + tc into the next stitch. I repeated that 3 more times.
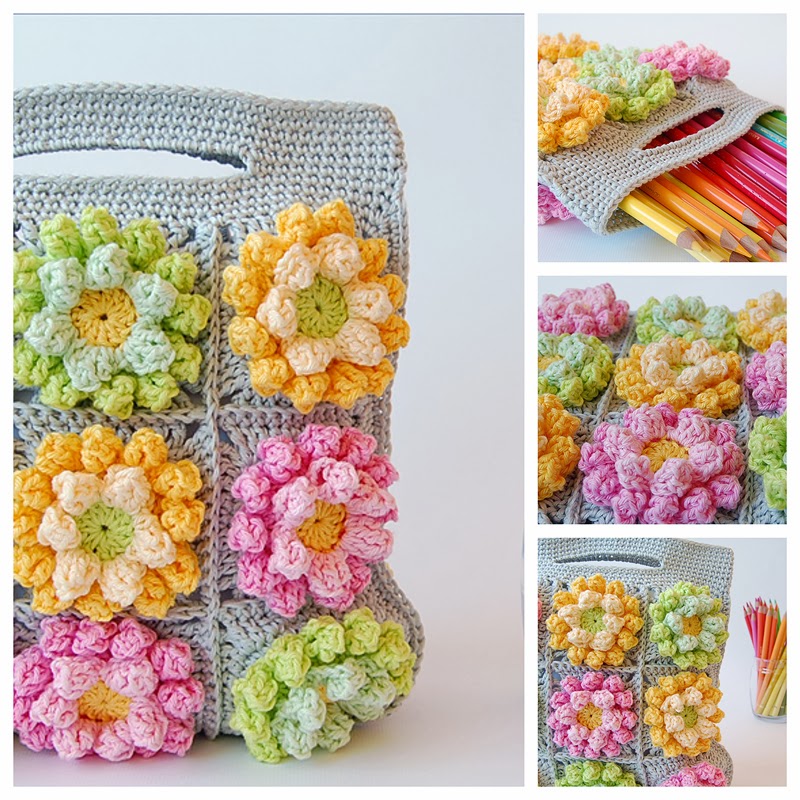
I made a total of 18 granny squares, joined 9 of them together with single crochet and got the front of the bag. I made the back in the same way. Then added two more rows of single crochet on each part (front and back), joined them together on three sides, also with single crochet, and finally made the handles. I got the idea how to make the handles watching this great tutorial, only I used single crochet instead of half double crochet (in the video).
I hope that these instructions were not too much confusing… This was the first time I’ve tried to explain the process of making something. It was easier to make the bag, than to wrote this little tutorial, So please, don’t be too hard on me…
- « Previous Page
- 1
- …
- 37
- 38
- 39
- 40
- 41
- …
- 50
- Next Page »